
This is an old revision of the document!
Table of Contents
This page describes the process for installing and updating Bizweaver. The basic installation of Bizweaver will typically take 15 minutes or less.
Installation and updates follow the same set of steps. The only difference is that in an update, the Server Configuration values defined in a previous installation will automatically be displayed. The values can be used by clicking [Next] to continue.
Preparation
Bizweaver requires that Microsoft .Net Framework v4.7.2 or higher be installed before beginning an installation. The application can be downloaded from Microsoft. A restart of the server is required after installation.
Information You Will Need
- The name/IP address of the server where the SQL Server database is found, or will be created.
- The user name & password for a SQL Server user with database administrator security.
- Third Wave recommends that a specific user be created for Versago and Bizweaver rather than using the ‘sa’ (system administrator) user.
Pre-install Activities
- Confirm that your SAP Business One Site ID is set up in Third Wave’s system. This value is used for licensing. You can check to see if it is set up on the TWBS portal (https://portal.twbs.com).
Confirm Environment Requirements
- Review server, server software, and IIS requirements » here. Pay particular attention to the required version of Microsoft .Net Framework.
- Obtain the Bizweaver installation package, which is provided by Third Wave.
Product License
The Bizweaver license is generated automatically. There are two requirements for the license process.
- Your SAP Installation ID must be on file in the Third Wave Business Systems license system.
- An active Internet connection to allow communication with the Third Wave license server. The connection must allow access to https://license.twbs.com:444.
Basic Installation
- Obtain the installation package from Third Wave Business Systems. This will typically be provided in an archive (.Zip format) file.
- Extract the installation files from the archive on your local system.
- Move to the folder containing the installation files.
- Right-click on the ”setup.exe” file. Use the “Run as Administrator” option for the installation.
- The initial installer screen is displayed.
- The installation process can be ended at any step by clicking [Cancel] and confirming that you wish to quit.
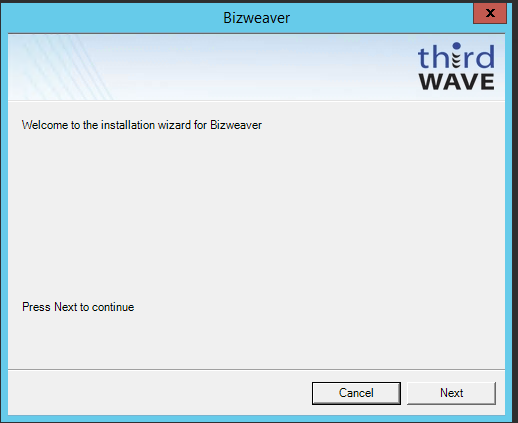
- Click [Next] to continue.

Review License Agreement

- Click “I accept the agreement” to continue. If you do not wish to continue select “I do not accept the agreement” or click [Cancel] and the process will terminate
- Click [Next] to continue.
Choose the Installation Location

- Confirm or change the installation location for the Bizweaver application.
- Click [Next] to continue.
- A dialog box displays the progress of the installation.
- When the installation is complete, a final dialog screen is displayed.

- Click [Finish] to complete the installation process and begin the configuration process.
Bizweaver Configuration
An application called “Bizweaver Configurator” is automatically launched. This application will configure Bizweaver for use.
Installations require that the information described in the following steps be entered manually. Upgrades will automatically fill in the information provided in the previous configuration. Click [Next] for each step unless a value needs to be changed.

Click [Next] to continue.

- Define the SQL Server where the database is located. This may, or may not, be the server where Bizweaver is installed.
- The database used by Bizweaver can be anything you wish but it not be a database used by SAP Business One.
- A typical name is “bwCommon”.
- The configuration process will create the database if it does not exist.
- Enter a SQL Server user.
- This user must be assigned to the “sysadmin” and “public” SQL Server roles (this is the default for the ‘sa’ user).
- Enter the password for the designated SQL Server user.
- Define the timeout period for SQL Server actions. This timeout value is only used in the designer.
- Timeout settings for connections used for actual processing are defined in the Global Connections setup.
- The default value of 30 should be adequate for most installations, but may be increased if timeout errors are seen in the designer functions.
- The number of days to retain log files is set to a default value is 30 but can be adjusted up or down as desired.
- A value of 3, 4, or 5 is usually adequate for most installations.
- Enter your SAP Business One installation ID, or other ID provided by Third Wave Business Systems.
- Click [Next] to save the settings and continue.
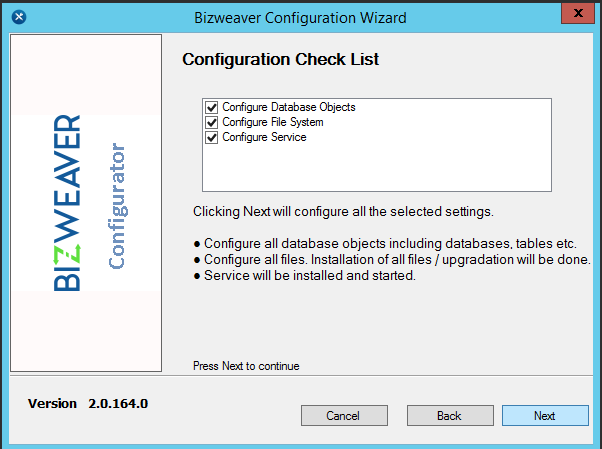
- Click [Next] in the Wizard – Specify Configuration Check List. The checklist can be modified, but it will automatically load whatever data is going to be configured in the next steps. The user does not need to change this.
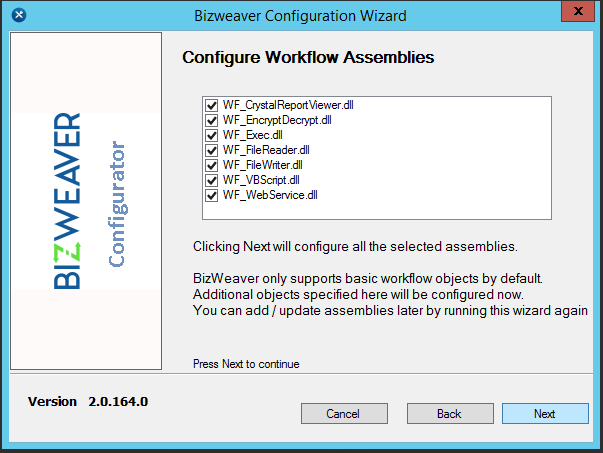
- A list of workflow tools (called “workflow assemblies”) is presented. Do not change any of these options unless instructed to do so by Third Wave support. Click [Next] to continue.
- Bizweaver provides a web service to allow execution of workflows from a remote application.
- Windows IIS must active to complete this setup.
- If Versago has been installed on this server, the appropriate settings will be determined by the application. The various fields will not be accessible, so you can proceed to the next step.
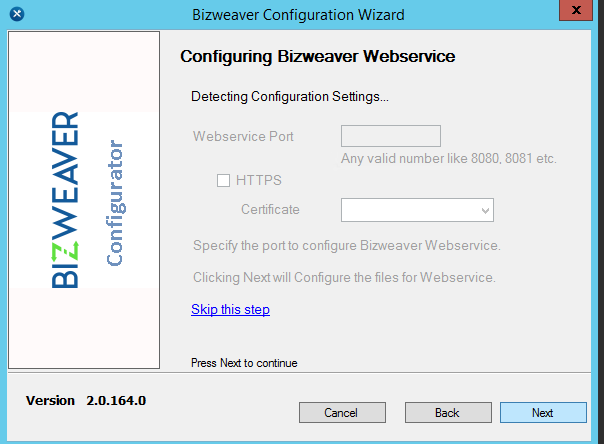
- If Versago has NOT been installed, the desired settings can be entered.
- Any valid port can be assigned. A common value that should work in most instances is 8082, unless HTTPS is in use. In this case, use port 443.
- The process will halt if a port that is already in use is assigned. Change the port value to continue.
- The application will alter Windows DCOM settings on this machine for use with Bizweaver. This is necessary in order for Bizweaver to receive web service calls from Versago.
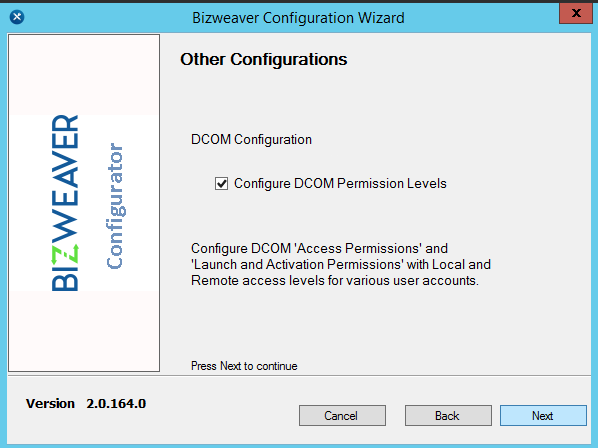
- The final configuration step is a summary screen with all details is displayed.
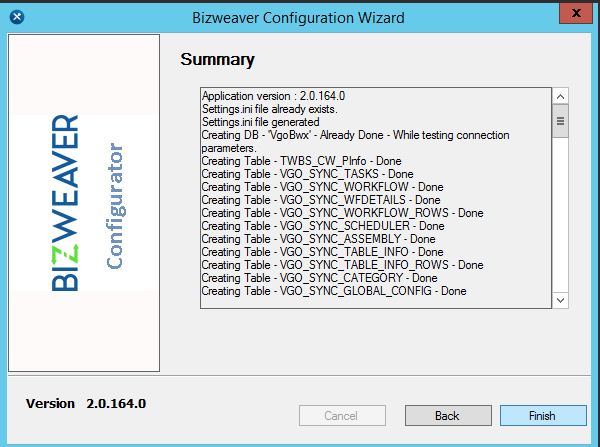
- Click [Finish]. The Bizweaver application is automatically launched.


Final Installation Steps
The basic installation of Bizweaver is now complete.
- Update the login user for the Bizweaver Service service to use the designated domain user described in the environment requirements.
Upgrading Bizweaver
Be sure that all instances of the Bizweaver application are ended before beginning the update. You can check this using Windows Task Manager > Users tab. Do not begin the upgrade if any instances are open.
A direct upgrade for installations prior to version 91.1.0.138 is not supported. In these cases, simply uninstall Bizweaver using the standard Windows uninstall process. Then install the new version of Bizweaver as described above.
If you have Bizweaver versions between 91.1.0.157 and 91.1.0.159 (inclusive) you should do the following (in this sequence)
- Remove the application “BWPortal” using the standard Windows uninstall process.
- Remove the application “Bizweaver” using the standard Window uninstall process.
- Delete the folder C:\Program Files\Bizweaver
- Install the new version of Bizweaver.
To upgrade Bizweaver, simply follow the installation instructions as outlined above. Bizweaver workflows are stored in the database so they will remain intact during the upgrade process.
Final Upgrade Steps
- Check the Bizweaver Service service and confirm that the designated domain user described in the environment requirements is still in place. Reset the user if it is not.
Removing Bizweaver
Uninstall Bizweaver via the standard Windows uninstall process in “Programs and Features” in Control Panel.
- For versions prior to 91.1.0.157, uninstall the program “Bizweaver.”
- Beginning with v91.1.0.157, uninstall the programs “BWPortal” and “Bizweaver.”
- Remove the IIS website “BW Service.”
- Delete the folder C:\Program Files\Bizweaver
- Delete the folder C:\ProgramData\Bizweaver
File System and SQL Server Access
Windows Services
Two Windows services are utilized by Bizweaver. These are Bizweaver Service and, in SQL SAP Business One environments, SAP Business One DI Server. By default, both services use the “Local System” user.
A domain user specifically defined for this purpose should always be used for these services. Information about configuring this user is foundhere.
File System
- Log files are written to C:\ProgramData\Bizweaver. The application must have read & write access to this location.
SQL Server
There are two points where a connection to SQL Server is used
- First is in the core configuration described in this document. This is needed, at a minimum, to create the various database objects used by Bizweaver
- Second is in the Global Configuration function.
- Both points require use of a user/password for login. Windows authentication is not supported.
The SQL user needs full access (read, write, execute) for the following tables:
- Whatever database is designated in the installation process
- VersagoData (or whatever database is designated for use with Versago Forms)
- Any SAP Business One databases to be accessed
Configure SQL Server for Web Service Calls
In many SQL environments it is desirable to use the Bizweaver API to initiate a Bizweaver workflow. A common example is when something occurs in SAP Business One.
To support this type of processing, some configuration in SQL Server is required. The configuration process is outlined here. The use of this functionality is found here.


